

I started a watercolor painting featuring one of my favorite summer bulbs, Allium. Alliums are essentially a flowering perennial onion and have a bulb that produces unique ball shaped flowers in shades of pink, purple and blue.
The photo that I used for inspiration was from a day trip to Cornell University in June 2018 with the New York State Nurseryman Association. We toured some of the campus gardens and heard the behind the scenes story of when they installed a native plant themed rain garden. I took some photos of Allium that day that are really striking. I like how the purple Allium balls float up above the other bedding plants. Those photos always stuck out to me. I knew I wanted to paint them at some point. I will share the photos from that day soon.
Painting is all about layers. Layers on layers on layers. One of the things I love about working with watercolor is that the layers dry so quickly. There is less wait time between each round, so you can complete something in a session or two.
It takes awhile to complete a painting like this. What I am showing here in part one took about 2 ½ hours. I still have that long to go at least. Maybe longer.
I have been painting for many years and I found it interesting to take photos as I went along to show the process. When you have been doing something for so long you kind of forget the steps. You just do it. It is like being on autopilot. I liked seeing how the painting progressed.

I start off with a sketch in pencil on watercolor paper. I draw really light so I do not have to erase much. The painting usually covers the pencil, but you can erase a little if the paper is dry.

The first layer is essentially a color wash. I use the most water in these first few steps. I use big, broad strokes that will become the background. In the first stage here I’m looking for only shades and tones.

The painting is created from the background towards the foreground. Now I start to color in the middle ground, the Allium buds.
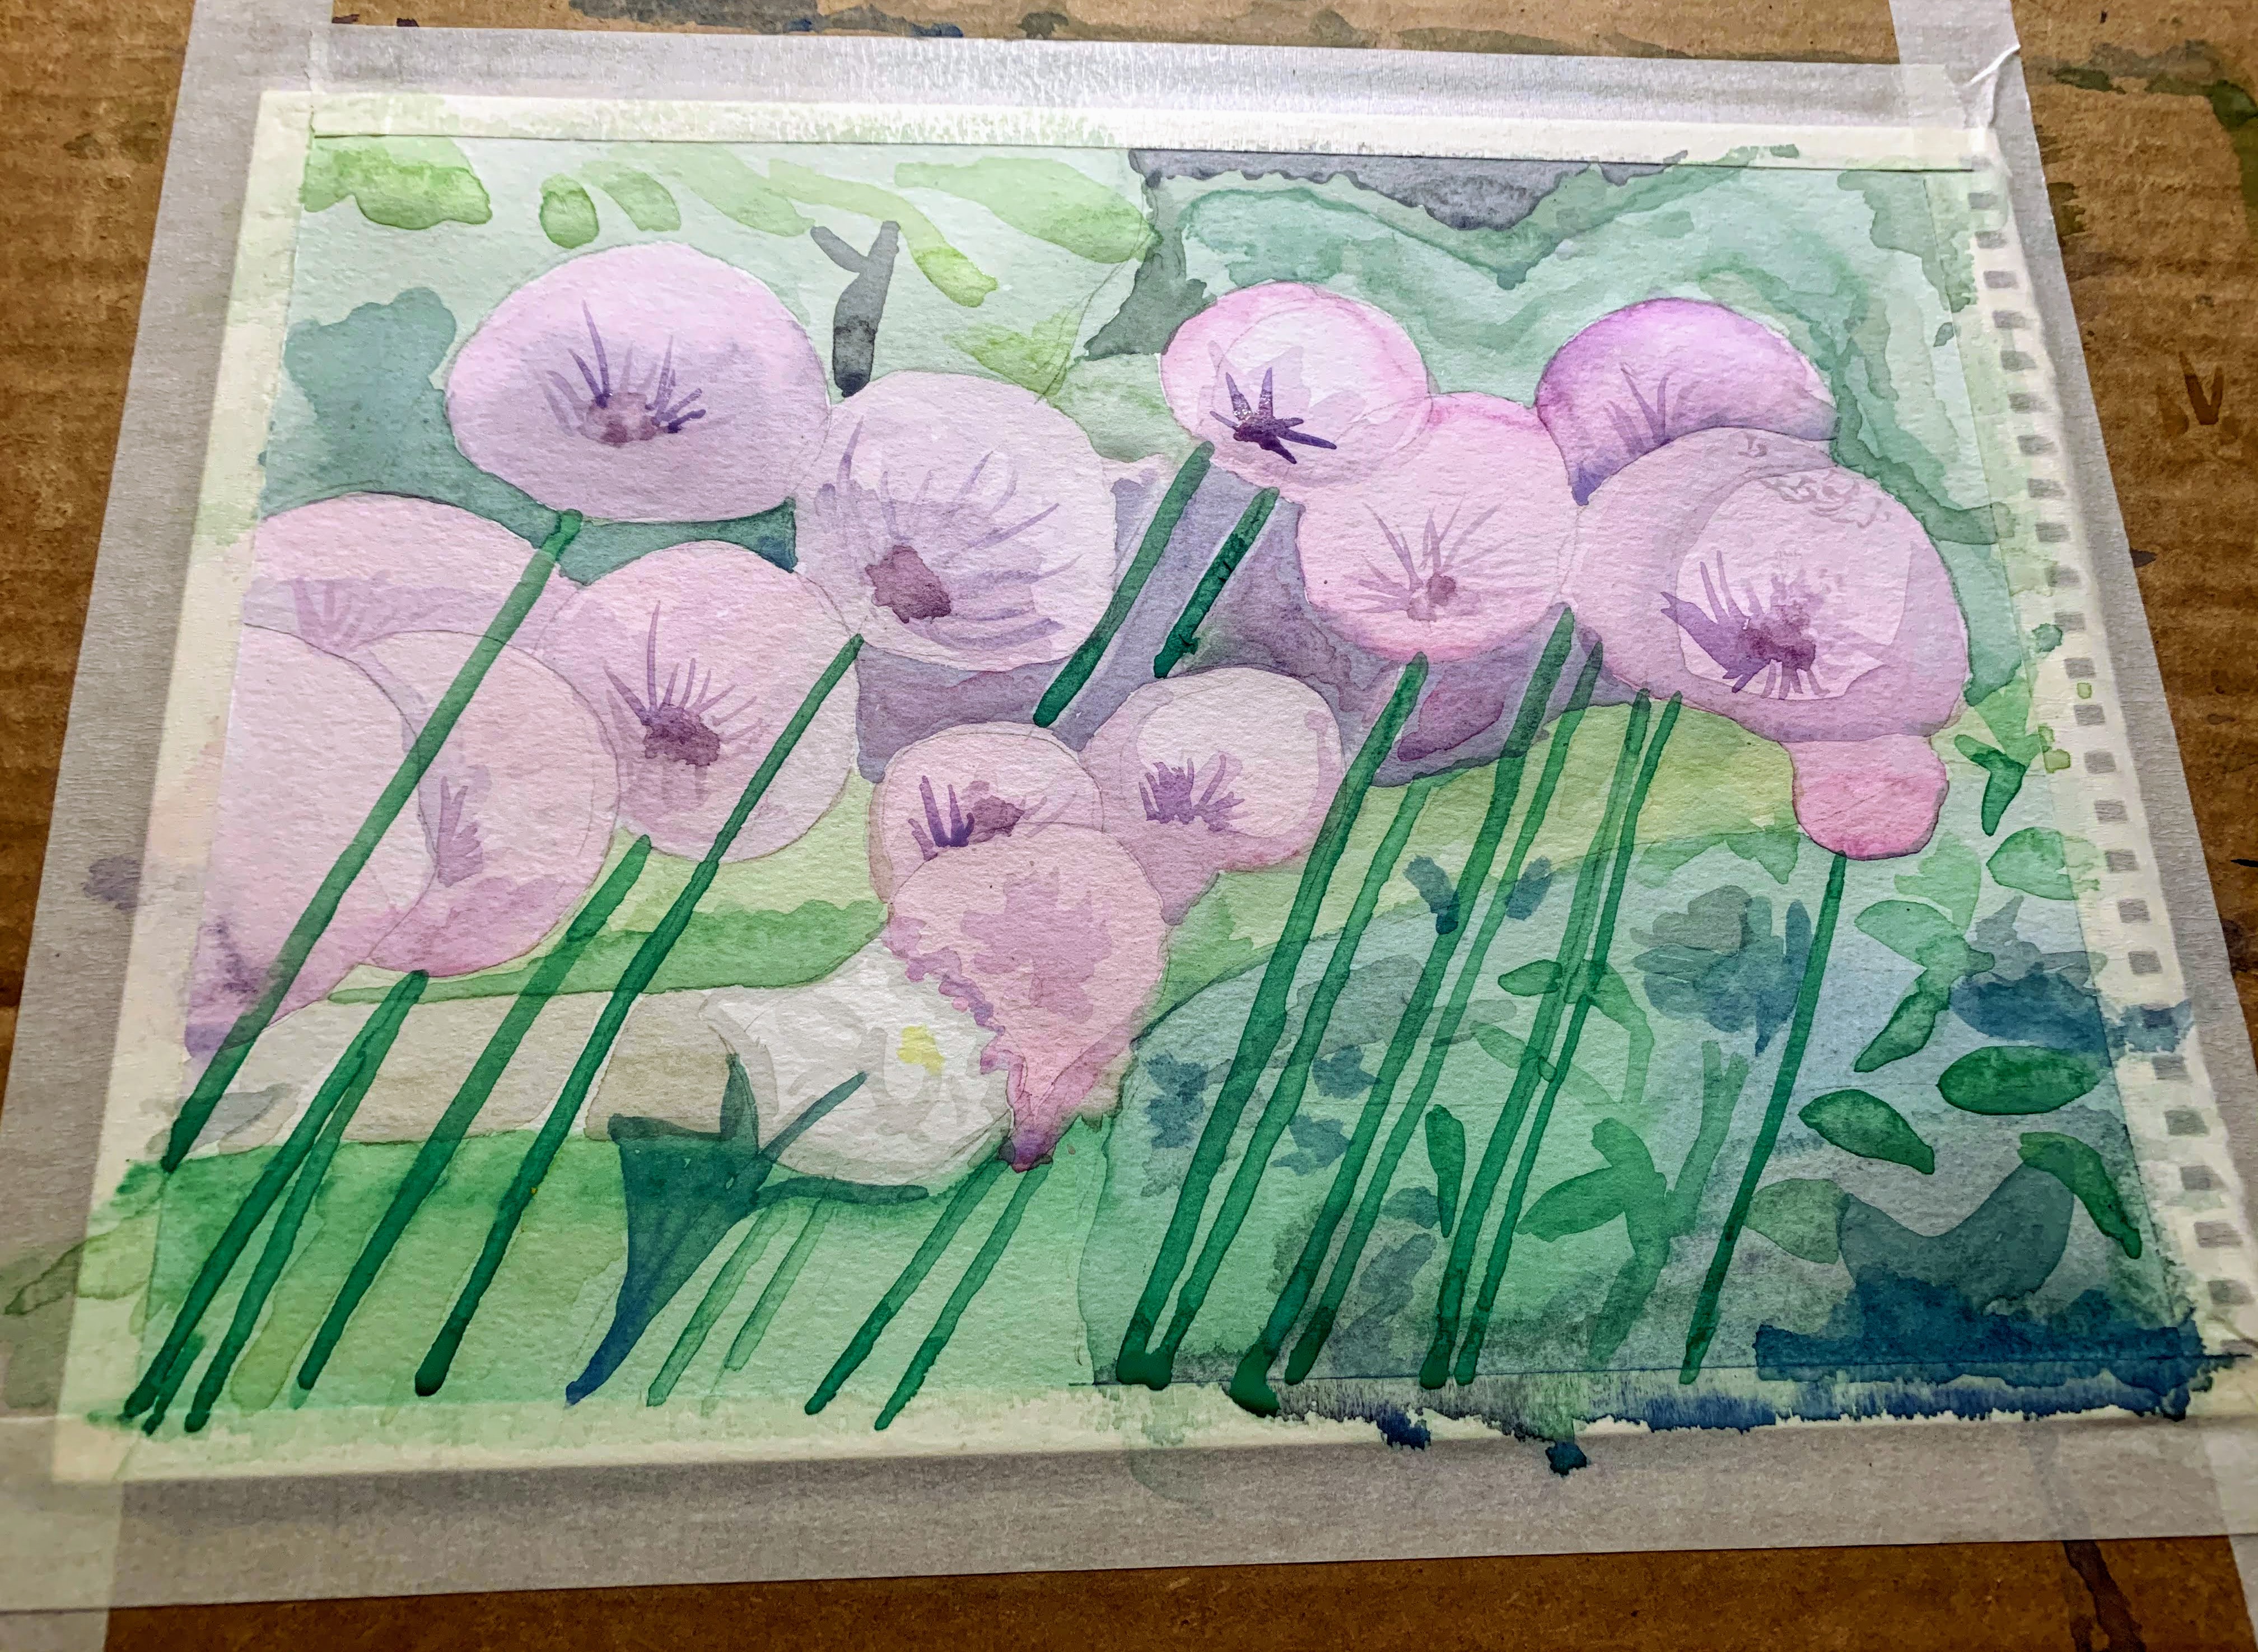
Next I start to create some texture. So many layers. Even the layers have layers. I add some texture to the background plants, add the stems and start on the buds themselves.

Slowly you build up definition and detail. Here I darken the stems. They naturally would be in shadow just underneath the buds.

End of round one with this one. I usually prefer not to complete a painting in one day because I like to look at it for a day or so and see what areas I want to improve on, and where I want to go with it.
I will share the upcoming stages of this painting soon. Thank you for following along! I hope you enjoyed seeing the process.
Liz
One response to “Watercolor Allium, Part 1”
I always enjoy your finished works but Loved seeing your process too!
Very cool to know Allium is a perennial onion!